- Discs
-
-
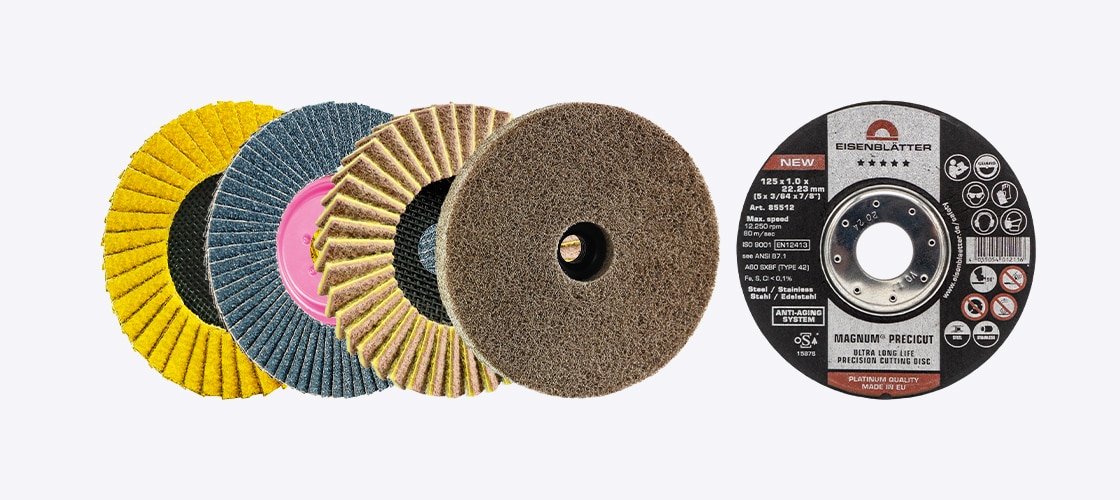
Grinding, Sanding & Polishing Discs

-
-
-
-
Our range of flap discs, cutting discs, grinding wheels and fibre discs, surface conditioning, stripping discs and polishing discs are primarily produced by Eisenblätter in Germany. We focus on providing the highest quality, safety, user friendliness and environmental sustainability. Many products have set the standard since they were introduced and throughout the years have been continually improved to be on the cutting edge of innovation.
-
-
-
- Sleeves & Wheels
-
-
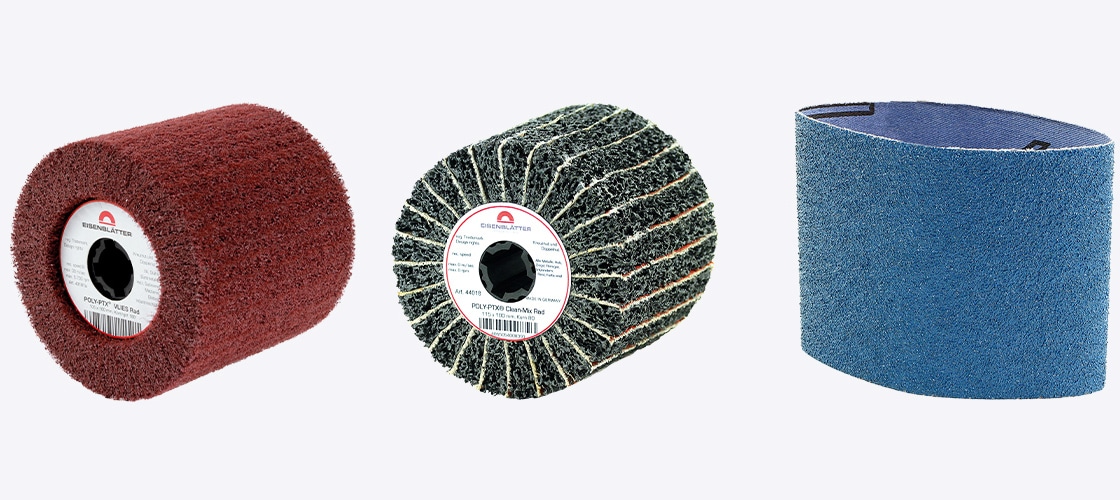
Grinding Sleeves and Wheels
-
-
-
-
Creating a beautiful satin finish is made easier by using our high-quality, durable abrasives sleeves and wheels. They are manufactured in Germany by Eisenblätter using special processes to ensure smooth operation and increased service life. Our range offers you the right product for a wide range of applications on different metals such as cleaning, satin finishing, removing scratches, industrial grinding or linear grinding, pre-grinding or polishing to a mirror finish, surface treatment of wood and much more.
-
-
-
- Machines
-
-
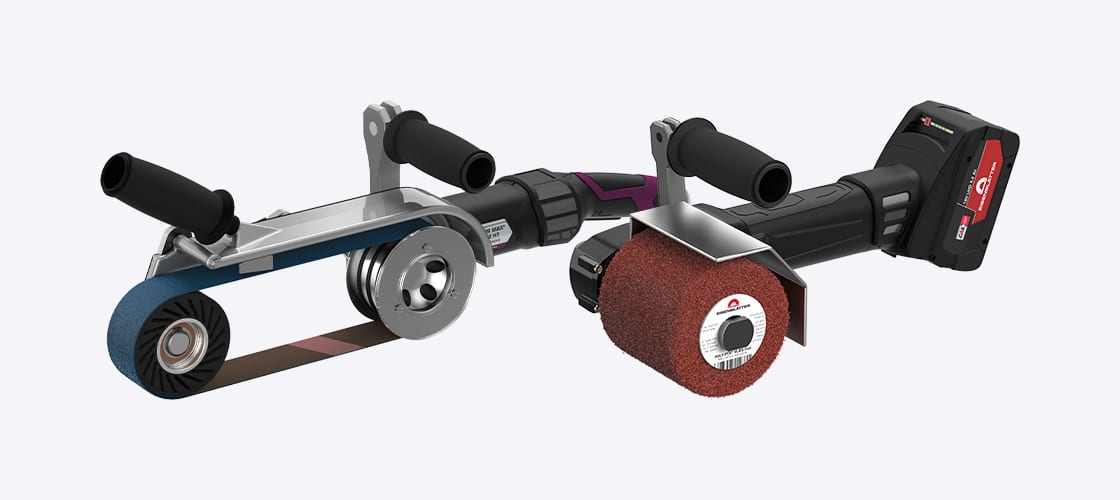
Machines
-
-
-
-
For over 30 years our machines have set the standard for performance and durability. We were the first to introduce the handheld linear grinder (Poly PTX) and the variable speed angle grinder (Varilex) to Australia in 1988. These machines are still made in Germany by Eisenblätter have continually been improved upon and they still are the most powerful machines in their category over 30 years later. We now also have high quality German made handheld belt sanders, belt filing machines, bevelling machines and polishers.
-
-
-
- Grinding Belts
-
-
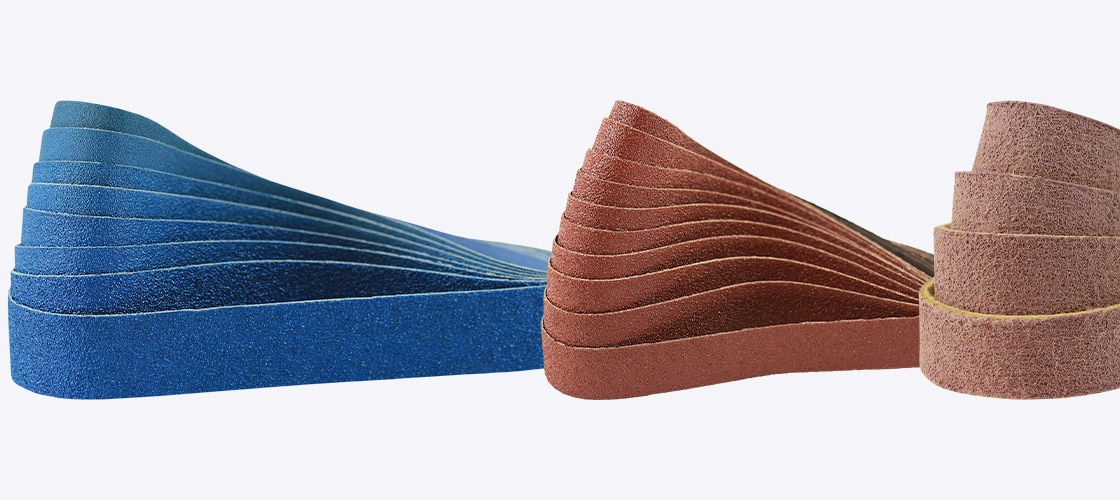
Grinding, Sanding & Polishing Belts
-
-
-
-
We stock a large range of belts for a variety of different applications such as grinding, satin finishing, fine sanding or polishing up to a mirror finish. We stock belt sizes 40x780mm pipe machines and 30×600 to suit our PTX machine with optional grinding belt roller. The practical T-Lock fastening system allows pipes on closed pipe constructions and handrails to be finished without cutting belts. Custom belts of any size can also be made up, use our custom belt order form or send us an email for more information.
-
-
-
- Accessories
-
-
Accessories
-
-
-
-
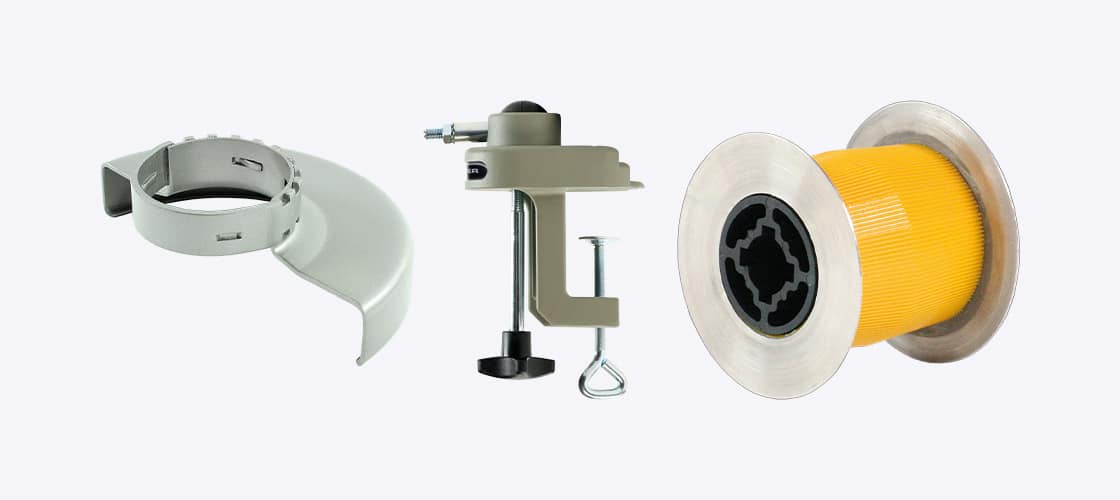
Accessories to suit our Eisenblätter machines such as backing pads for mounting Velcro discs, spare guards, dust extraction systems and much more. There are also innovative products such as the grinding belt roller that allows belts to be used with either our PTX or Varilex machines. There are also machine holders and flexible shaft attachments for getting into hard-to-reach areas. These accessories add further versatility to our machines and keep them one step above the rest.
-
-
-
- Polishing & Cleaning
-
-
Polishing & Cleaning
-
-
-
-
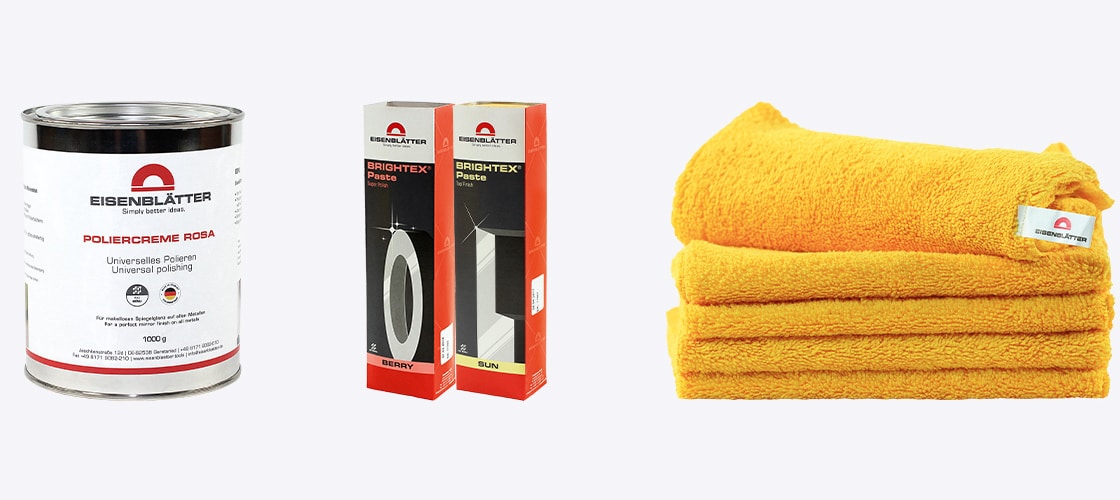
Achieve a shadow-free, mirror finish with Eisenblätter polishing products such as BRIGHTEX® polishing pastes. Minimise clogging with the use of Superpolish polishing discs, belts and sleeves. Our range of care products allows you to effectively clean, protect and preserve metal surfaces.
-
-
-
- Sale
-
-
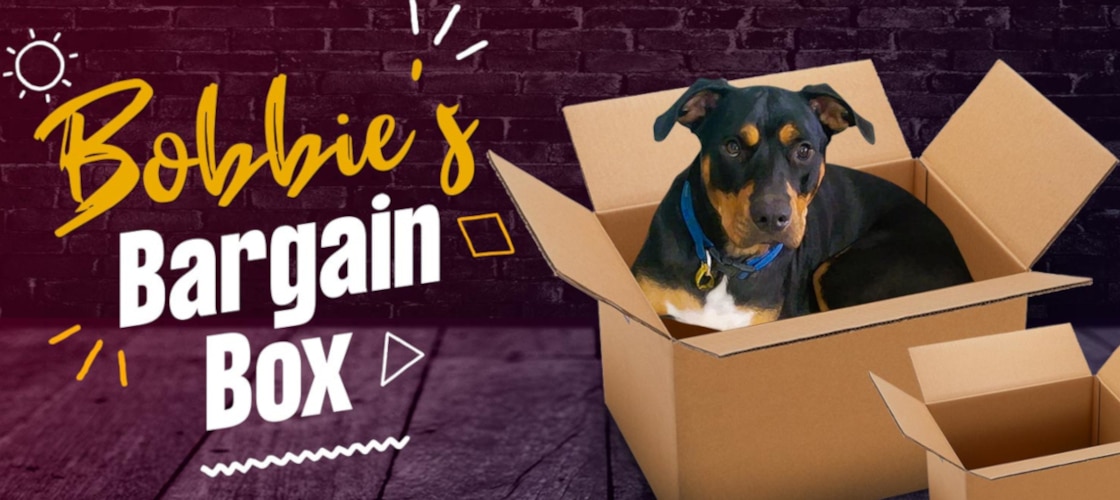
Bobbie’s Bargain Box
-
-
-
-
Get great quality abrasives made by Eisenblaetter in Germany for up to 50% off while stocks last. These products are mainly from discontinued lines so get them before they’re gone for good!
-
-
-
- Blog
- About Us
- Catalogue